How to Make a DIY Tie Dye Mask
Are you tired of wearing plain face masks that don’t reflect your style or personality?
Tie dye your face mask to update your look without compromising health or safety!
Today, we’ll show you how to make a tie dye mask so you can rock a stylish face covering while effectively protecting yourself and others from the spread of germs.
How to Tie Dye Your Face Mask
Tie dye is a great way to enhance your face mask without jeopardizing its effectiveness.
Follow these quick and easy steps to accessorize your face mask for a unique and vibrant look.
Here’s a list of supplies you’ll need:
- A tie dye kit with squirt bottles and dye packets
- Plain white cotton face masks (like these masks from Thompson Tee)
- Gloves (latex, nitrile or food service will work well)
- Several rubber bands
- Plastic bags or plastic wrap
- Two craft trays or baking sheets
Step 1: Dampen Your Mask
Start by dampening your mask under a faucet or dipping it in a bowl of water. You can tie dye a dry face mask, but damp fabric allows the dye to permeate evenly.
Step 2: Fold and Tie Your Mask
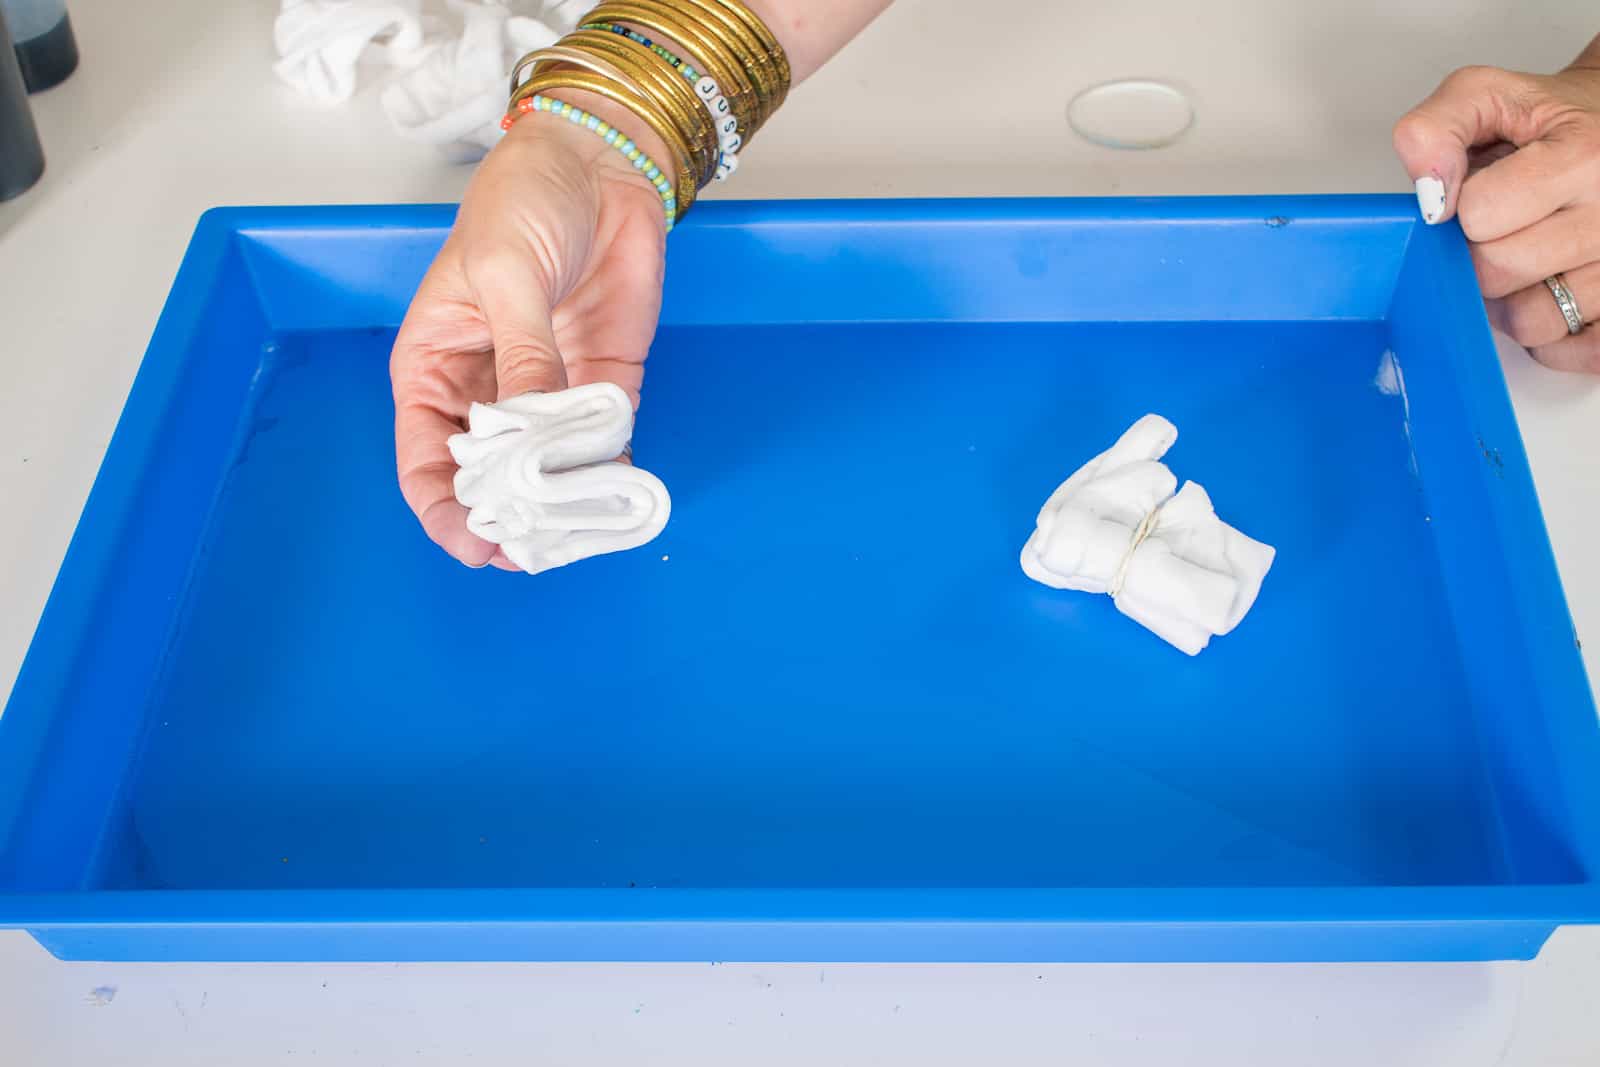
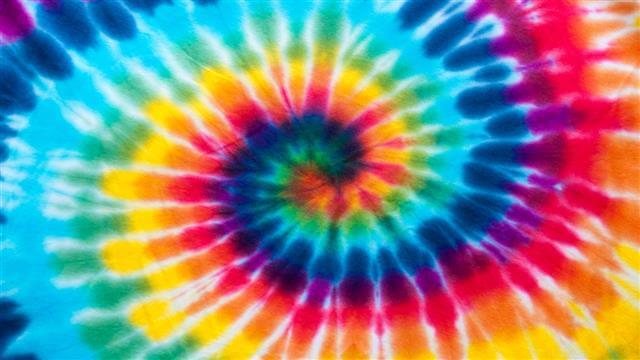
Tie dying allows you to create one-of-a-kind patterns using your favorite colors. To achieve that signature tie dye look, fold and tie sections of your mask with rubber bands before you start the dyeing process.
Try these proven techniques to create classic tie dye patterns.
Bullseye
For a bullseye or sunburst look, pinch the fabric at the center of your mask and secure it with several rubber bands. Space the rubber bands evenly.
Stripes
First, fold your face mask accordion-style. Then, fold your mask in half as many times as you can before securing it with three or more rubber bands.
Form a vertical accordion fold to create horizontal stripes, or a horizontal fold to create vertical stripes. Folding your mask diagonally will render diagonal stripes.

Polka Dots
Pinch and secure several sections of your mask with rubber bands before dyeing to create a polka dot pattern.
Swirls
Pinch the fabric at the center of your mask, then twist it tightly before securing it with rubber bands.

Step 3: Dye Your Mask
After folding and tying your mask, it’s time to apply the dye. Put on your gloves to protect your hands from stains.
Then, mix the dye colors you’ll use and fill them in individual squirt bottles.
Place your mask on a craft tray or baking sheet and get to dyeing!
You can apply one color evenly over the entire mask, saturating it entirely, or you can use different colors on each divided section of your mask.
If you’re using multiple colors, be sure to apply the colors one at a time. Don’t be shy about using plenty of dye — the more you apply, the richer the colors will turn out.
Keep in mind that colors can bleed together and mix, so it’s a good idea to dye complementary colors side by side.
For example, red and blue dyes can mix to create a purple or violet color that enhances your tie dye design. However, mixing red and green will result in a brown color that isn’t preferable.
Step 4: Wrap and Wait
Keeping the rubber bands in place, wrap your dyed mask in plastic wrap or place it in a plastic bag. Leave it on the clean craft tray or baking sheet in case of any leaks, and wait for the colors to set.
Depending on the dye you’re using, you’ll want to keep your mask wrapped for about six to eight hours. Refer to the tie dye kit instructions to confirm how long you should wait.
A longer wait time results in a bolder, brighter finish. If you prefer lighter colors or pastels, you might not need to wait as long — approximately two to four hours should be sufficient.
Step 5: Rinse in Cool Water
When the wait time is up, remove your mask from the plastic and take out the rubber bands.
Thoroughly rinse your mask under cold running water until the water runs clear, free of excess dye.
After the cold water rinse, run a quick second rinse under warm or hot water (optional).
Step 6: Wash and Dry
Lastly, place your freshly dyed mask in a mesh laundry bag and machine wash it in hot water on a normal cycle.
Do not wash your tie dye mask with other clothing, as the dye may continue to run during the wash.
After the machine wash cycle, remove your face mask from the laundry bag and tumble dry on high heat to set the colors. That’s it!
Tie Dye Face Masks Made Easy
Face masks are now a wardrobe staple for everyone, so why not wear one with character?
If you’re looking for the perfect mask to kick off your DIY tie dye project, look no further than Thompson Tee’s white premium cotton face masks.
Thompson Tee face masks are made with 100% premium, double-layered cotton for a soft touch and comfortable fit. Choose from adult or kids sizes, or score a pack of six for adults or kids so the whole family can rock a tie dye face mask!


